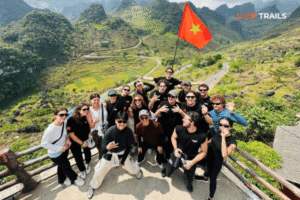


Thúy Kiều (Grace) is a travel blogger and content contributor for Loop Trails Tours Ha Giang. She holds a bachelor’s degree in Sustainable Tourism from Vietnam National University, Hanoi, and has a strong passion for exploring and promoting responsible travel experiences in Vietnam’s northern highlands.
Learn more: Ha Giang Loop Tours
The first time I rode up the road to Tham Ma at 6:30 in the morning, with mist still sitting in the valleys and a small motorbike between my knees, I realized I had packed the wrong lens. My only zoom was on the wrong body, my drone batteries were back at the homestay, and the light was doing the thing limestone karst light does for about eleven minutes before it turns flat. That mistake taught me more about photo gear for the Ha Giang Loop than any guide ever did.
This is the camera gear post I wish someone had written for me. It is not a wishlist of expensive equipment. It is what I actually pack now, what I see other photographers using on the road, and what most travelers can skip without regret.
The Loop is a photographer’s dream and a photographer’s pain in roughly equal measure. You get scale (those passes are real), you get culture (markets, ethnic minority villages, working farms), and you get weather that changes every two hours. You also get cold fingers, wet panniers, and limited time at each stop. The right kit makes that workable. The wrong kit makes you miss shots.
If you are already past the gear stage and just need a tour that fits a photographer’s pace, skip down to “Which Tour Mode is Best for Photographers?” lower in this post.
Learn more: Ha Giang Loop 2 Days 1 Night
If you have ten seconds and just want a baseline kit for the Ha Giang Loop, here it is:
Below is the kit and the logic, broken down so you can match it to your travel style and which tour mode you are taking.
Learn more: Ha Giang Loop 3 Days 2 Nights
The Loop punishes equipment in three ways: dust on dry days, water on wet days, and constant low frequency vibration on the bike. Pick a body that can handle at least two of those three. Weather sealing matters more in real life than it does in spec sheets.
A modern smartphone is enough for 80% of travelers who post on Instagram or share with family. iPhone 13 Pro and newer, Pixel 7 Pro and newer, the recent Samsung Galaxy S Ultra line, all of these will give you sharp wide shots in good light and decent results at sunrise.
Where a phone struggles on the Loop:
Where a phone wins:
If you go phone only, get a small clip on tripod and a Bluetooth shutter remote. That is the entire kit.
For travelers who want real image quality, a mirrorless body is the modern standard. Full frame gives you the cleanest files in low light at Du Gia or inside Dong Van’s old stone houses. APS-C is lighter and cheaper and frankly produces images that look identical on any normal display.
Models I see often on the Loop:
DSLR still works fine, just heavier. If you already own a Canon 6D or a Nikon D750, bring it. The Loop does not care about brand. It cares whether you can pull the camera out fast when the light is good.
If you are a working photographer or on assignment, yes, bring two bodies. Crashes happen, sensors collect dust mid trip, and shops in Ha Giang town do not stock professional gear.
If you are a hobbyist, one body is fine. Carry travel insurance that covers gear instead. The weight saving matters more on a three days ride than the redundancy.
Learn more: Ha Giang Loop 4 Days 3 Nights
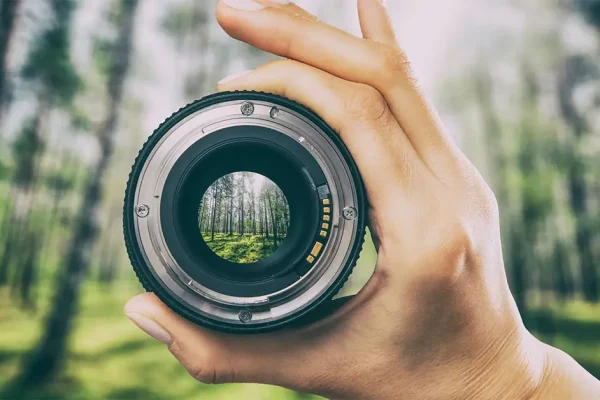
This is where most photographers either save weight or give themselves a hand cramp by day two. Be honest about what you will actually shoot.
If you want to ride light and only carry one lens, pick a versatile zoom in the 24 to 70mm range (full frame equivalent). On APS-C that means roughly 16 to 50mm. Examples:
You can shoot most of the Loop with this single lens: street scenes in Dong Van, environmental portraits in Lo Lo Chai, wide passes if you stitch a panorama, and tighter details of terraced fields.
The compromise: you will miss the very wide cinematic feel of the big passes, and you will not be able to compress karst layers from a distance.
The most common setup I see on the road:
The choice between wide and telephoto depends on what you love shooting. If you obsess over sweeping landscapes and passes, take the wide. If you want compressed mountain layers and details of distant villages, take the telephoto.
Splitting the difference: a 24 to 105mm or 24 to 200mm travel zoom paired with a wide prime is also a strong Loop kit. Less swapping, more shooting.
Ma Pi Leng and Tham Ma both reward going wider than you think. 24mm feels just short of what the eye sees. 16 to 20mm starts to look like the Loop. A 14 to 24mm or 16 to 35mm zoom is a great companion lens if you have the space.
For phone users, the ultra wide camera on iPhones and Pixels works well here. Watch out for edge distortion if you frame a horizon line near the top of the image.
The most underrated lens choice for the Loop. The karst peaks stack in layers that compress beautifully at 100 to 200mm. From the Ma Pi Leng viewpoint, a telephoto lets you pull out details of the Nho Que River winding far below, the kayak boats moving against scale, and far ridges you cannot see properly with the naked eye.
A 70 to 200mm f/4 is light enough to bring. f/2.8 versions are heavy and probably overkill unless you also shoot portraits in the village markets.
Learn more: Ha Giang Cao Bang 5 Days 4 Nights
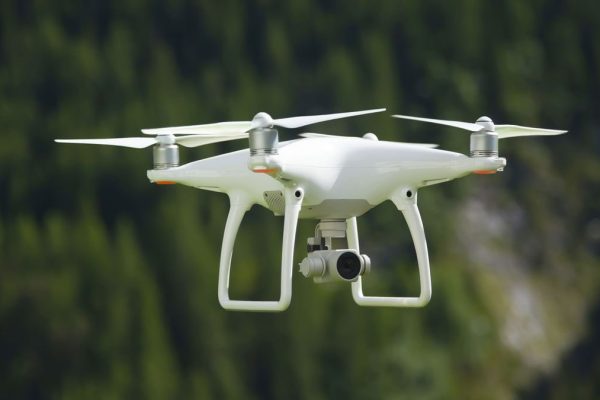
Drone footage of Ma Pi Leng is everywhere on social media, and it is part of why so many travelers want to come here. A clean overhead shot of a motorbike convoy on the pass is one of the strongest images you can leave the Loop with.
Drone rules in Vietnam can change. Permits, no fly zones, and on the ground enforcement vary by district and by year. The current standard advice: travel with your drone declared, fly responsibly, avoid border areas (Lung Cu is right on the China border and sensitive), avoid military or government installations, and ask your guide before launching in any village.
Check the latest updates before you fly, and do not assume a casual flight will go unnoticed. Drones are confiscated occasionally. If yours is, it is gone.
The drones I see most often on the Loop:
Anything heavier than the Air 3 becomes a logistical headache on a motorbike trip. The Mini 4 Pro hits the sweet spot for image quality, weight, and the sub 250g regulation tier that exists in many countries. Vietnam rules are their own thing, do not assume international weight tiers apply automatically.
The passes are windier than they look on a calm morning. Wind on Ma Pi Leng routinely gusts harder at the viewpoint than two hundred meters below. Small drones can be pushed sideways even when their app reports “normal” wind levels.
Practical rules I have learned the hard way:
Spots where flying is generally not a good idea: directly over the Lung Cu flagpole area (border sensitive), inside Dong Van old quarter (low altitude, residential, narrow lanes), or directly over any of the larger markets.
Quick note: photographers booking a guided tour with us can ask their guide about drone friendly stops on the itinerary. Our easy rider and jeep guides know which spots are safe to launch from and which to skip. Message us on WhatsApp before booking if you have a drone heavy plan in mind
Learn more: Ha Giang Cao Bang Ba Be Lake 6 Days 5 Nights
If you want footage of yourself riding through the passes, a phone is not enough. You need something stable, weatherproof, and properly mountable.
GoPro Hero 12 and Hero 11 are the workhorses. They handle rain, vibration, and being dropped, and the in body HyperSmooth stabilization is genuinely excellent.
Insta360 X3 and X4 (360 cameras) are increasingly popular because of the “third person” floating shot effect. The post production workflow is longer but the results look distinctive. If you have used one before, bring it. If you have not, do not learn it on the trip.
Phones on a chest mount or handlebar mount can work in a pinch but vibration kills the footage faster than you think. If you only have a phone, mount it to your chest with a strap (not your handlebars) for the smoothest result.
The mount positions that produce the best motorbike footage:
Avoid: top of helmet (looks comical), gas tank mount (too low and you only see road), or anything strapped to your shoes.
A small magnetic mount or a Peak Design chest harness with a GoPro adapter changes the game. Set it up once at the homestay so you are not fumbling on the side of the road.
If you are doing the Loop by jeep, you have more options because the platform is stable.
Jeeps also let you safely shoot with a real camera handheld through the open roof or side window, something you cannot do safely on a motorbike. This is one of the most underrated reasons photographers are now picking jeep over motorbike for the Loop.
Learn more: Ha Giang Loop Photography Guide
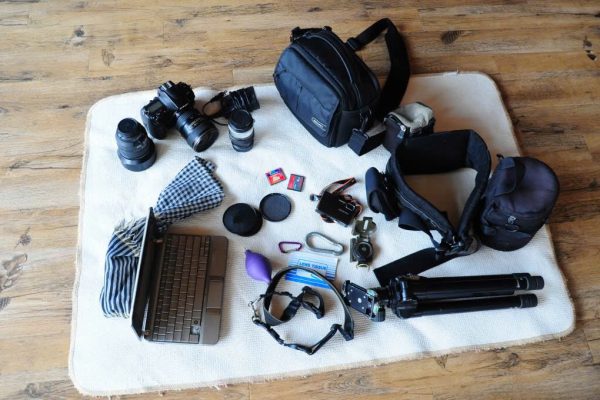
Be ruthless here. Most photographers bring too much.
What you actually need:
What you can skip:
If you are torn between bringing a gimbal or a real tripod, take the tripod. Sunrise at Tham Ma is worth it.
Learn more: Cao Bang Loop 3 Days best kept secret
For YouTube vloggers and serious video shooters, audio is the part everyone underestimates. The Loop is a noisy environment: bikes, wind, water, market chatter.
Realistic options:
If you are not making a vlog, skip all of this and use your camera’s onboard mic.
Learn more: Ha Giang Motorbike Rental
This is the section where trips quietly go wrong. Run out of card space at Ma Pi Leng and you are not riding back to delete files.
A working baseline for a 3 days Loop:
Rotate cards as you fill them, label them, and keep used cards in a separate pocket from empty ones.
Camera batteries fade fast in the cold. On a typical 3 days tour:
Keep one warm in an inside pocket when you ride. Cold batteries report empty when they still have charge.
Most homestays on the Loop have electricity at night and outlets that work intermittently. Outlet placement varies, and not every room has one near the bed.
Practical setup:
Learn more: Ha Giang Loop by Jeep for Families & Groups
The Loop is dry and dusty from October through April, and wet and green from May through September. October is also a transition month and sometimes brings sudden afternoon rain. Pack for both seasons regardless of when you go.
The simplest setup:
You do not need an expensive Peli case. You need something waterproof enough to survive half an hour of riding in rain
Dust on the lens is the number one killer of Loop photos. A small kit:
Clean your sensor before you leave Hanoi, not in Ha Giang. There are no real camera service shops on the Loop.
Learn more: Ha Giang Loop Self-Drive
Comfort here matters more than gear quality. A sore shoulder kills photo motivation by day two.
The setup that works for most riders:
Avoid: a heavy backpack as your only carry. Your shoulders will be done by day two.
Camera bag at your feet or on the seat next to you. A regular camera backpack (Peak Design Everyday 20L, Lowepro Pro Tactic) works perfectly because you are not carrying it for long. This is one of the practical advantages of the jeep mode for photographers: your gear is always within arm’s reach, dry, and protected.
For market walks in Dong Van or village visits, switch to a small sling bag or just carry the camera on a comfortable strap (Peak Design Slide or Black Rapid). Leave the rest in the bike or jeep.
Learn more: Tu San Canyon & Nho Que River Boat Trip
The Loop has a few photo locations that draw most of the attention. Here is the realistic gear note for each, plus what tends to actually work in the light.
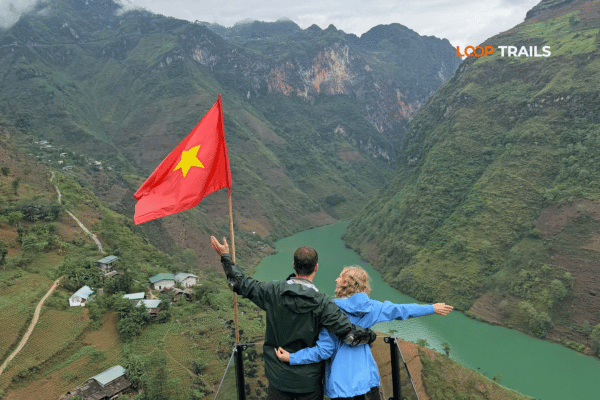
The signature spot. The pass viewpoint sits high above the gorge with the green Nho Que River winding below.
What to bring:
Tips: morning light is gentler. Afternoon backlight is brutal. The full sweep of the river is best with a telephoto, not a wide lens.
The famous switchback pass. Sunrise here is one of the standard Loop shots.
What to bring:
Tips: get there before sunrise, not at it. The light starts long before the sun crests the ridge.
Stone houses, narrow lanes, and the small Sunday market.
What to bring:
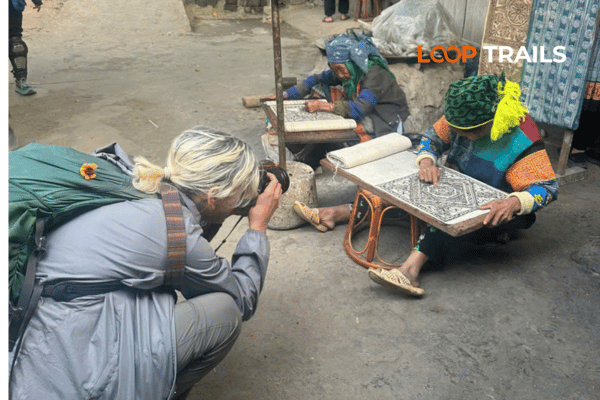
Tips: ask before photographing people, especially older H’Mong and Tay women. A smile and a small gesture toward the camera goes further than any lens.
Quieter, greener, less photographed. A waterfall, terraced fields, and a slower pace.
What to bring:
The northernmost point of Vietnam. A short hike up to a viewpoint.
What to bring:
Learn more: Ha Giang in September & October
The Loop has three distinct light windows worth planning around.
Midday is harsh and best used for travel, lunch, or interior market photography in Dong Van where the stone walls cut the contrast.
Learn more: Ha Giang Loop Mistake to Avoid
A short list of patterns I see often.
Learn more: Ha Giang Loop Wrangler Tour
Photographers ask this constantly when they message us. Here is the honest answer.
Self drive motorbike is best for the photographer who wants total schedule flexibility. You stop exactly where and when you want. The trade off: you cannot shoot while moving, and you carry your own gear on the bike. If you already ride and want to do the Loop the classic way, this is it. Pair it with our motorbike rental if you are confident on Vietnamese roads.
Easy rider (you ride pillion with a local driver) is the most underrated option for photographers. Your hands are free, you can shoot while moving, and your driver knows the light timing better than any blog post. Most of the cleanest moving shots photographers leave the Loop with were taken from the back of an easy rider bike.
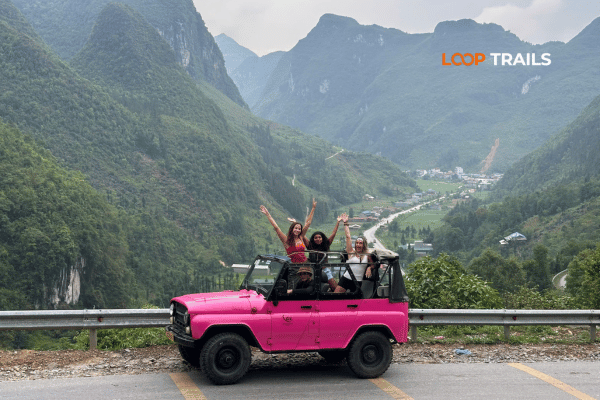
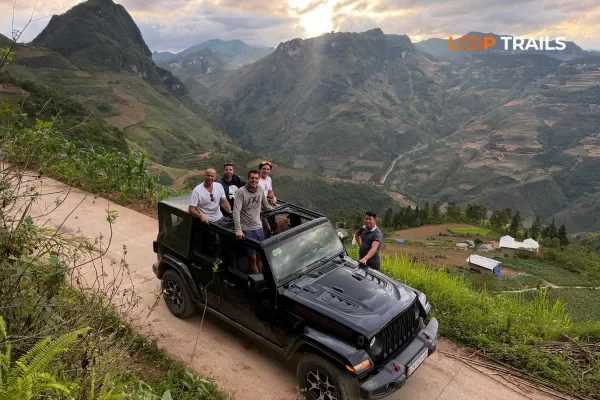
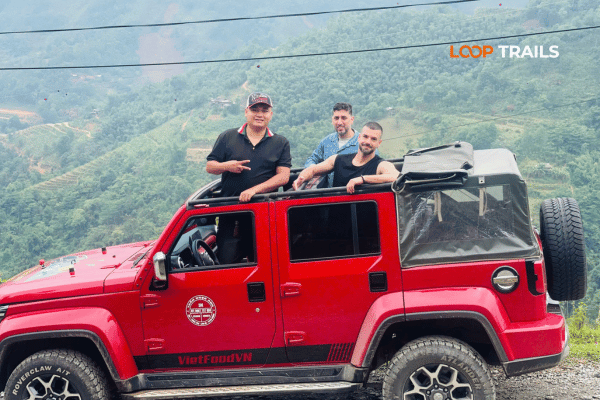
Jeep is the most photographer friendly mode overall. Your gear stays dry and accessible, you can shoot through open windows or the roof, and you have a stable platform for telephoto work. It is the only mode that lets you safely use a real camera while moving. For older travelers, couples who want to share the experience without dividing attention, or anyone bringing serious gear, the jeep is the clear pick.
If you want recommendations matched to a specific itinerary or photo focus, message us on WhatsApp before booking. We have run enough photographer trips to suggest the right mode and the right route timing.
Ready to plan? Browse our Ha Giang Loop Tours for motorbike and easy rider options, the Ha Giang Loop Jeep Tours page if you want the photographer friendly platform, or Motorbike Rental Ha Giang if you are doing it self drive. If you have more time and want to extend into Cao Bang for waterfalls and caves, our Ha Giang Cao Bang combine tour adds three to four days of completely different scenery. Tours fill 1 to 3 months ahead, especially October and November.
Learn more: Ha Giang Loop by Army Jeep Tours
Yes, many travelers do. Vietnam drone rules can change, so check the latest local guidance before flying. Avoid border areas, military sites, and busy markets. Your guide can tell you which stops are safe to launch from.
For social posts and family albums, yes. Recent flagship phones handle wide landscapes and good light well. For low light, telephoto layers, and printed work, a dedicated camera will give you more.
A 24 to 70mm full frame equivalent (16 to 55mm on APS-C). Versatile enough for landscapes, portraits, market scenes, and detail shots.
Weather sealed bodies handle short rain showers fine. Pack a dry bag and a small rain cover anyway. The wettest months are May through September.
Only if you plan to shoot sunrise, blue hour, or long exposures. A small travel tripod is enough. A full size video tripod is overkill.
128GB total minimum, 256GB if you shoot RAW plus video. Always bring at least two cards instead of one big one in case of failure.
Yes, most homestays have outlets at night. Bring a multi port USB charger and start charging the moment you arrive. Power can be intermittent in remote villages.
Basic ones in Ha Giang town for phone accessories and very limited gear. No specialty camera shops. Bring everything you need from Hanoi or home.
Ask first, with a smile and a gesture. Most are happy to be photographed once you ask. Avoid pointing a lens at women in traditional dress without permission, especially in smaller villages.
For serious photographers carrying a real camera and wanting to shoot through the day, yes. You get a stable platform, weatherproof storage, and more time for composition. Motorbike is better if you value total flexibility above all else.
October and November are the most popular for clear skies and rice terrace tones in the early month. April brings buckwheat flowers in some areas. December gives misty mornings. Each month has its own look.
There are a few rental shops in Hanoi. Stock varies. Reserve ahead by email if you go this route, and inspect the gear in person before signing.
Contact information for Loop Trails
Website: Loop Trails Official Website
Email: looptrailshostel@gmail.com
Hotline & WhatSapp:
+84862379288
+84938988593
Social Media:
Facebook: Loop Trails Tours Ha Giang
Instagram: Loop Trails Tours Ha Giang
TikTok: Loop Trails
Office Address: 48 Nguyen Du, Ha Giang 1, Tuyen Quang
Address: 48 Nguyen Du, Ha Giang 1, Tuyen Quang
Facebook X Reddit Table of Contents Learn more: Ha Giang Loop Tours Most people drive past the Quan Ba area twice on
Facebook X Reddit Table of Contents Learn more: Ha Giang Loop Tours The Ha Giang Loop has a reputation problem with older